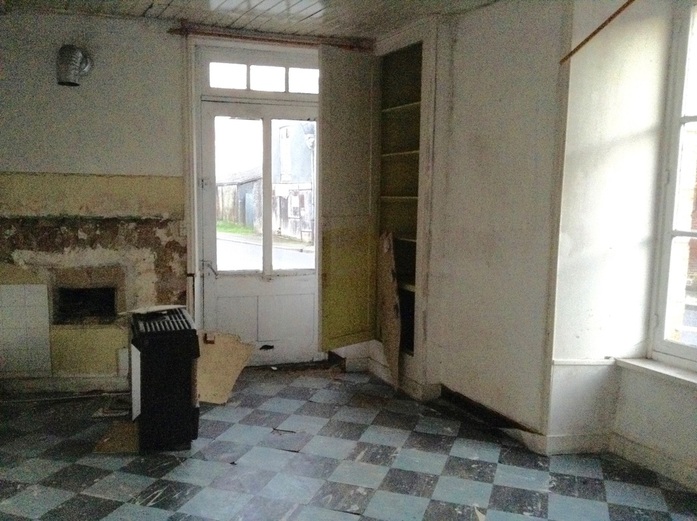
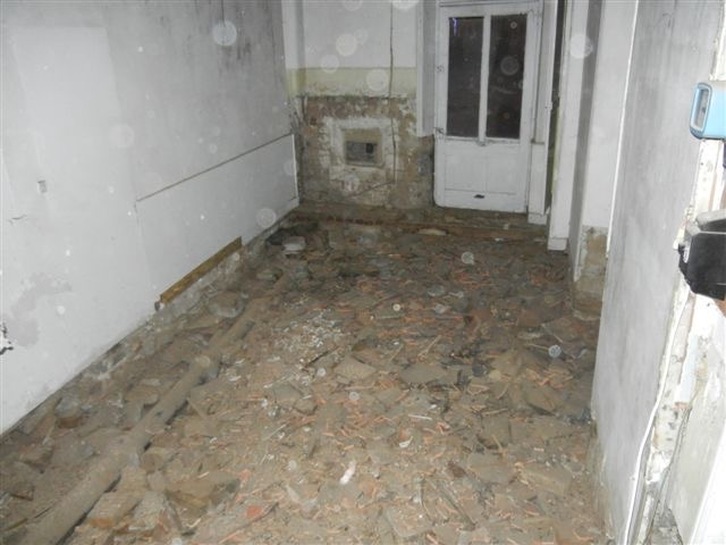
Very excited this week to have photos from our builders of the transformation of our tiny shell of a stone house into some semblance of actual rooms! Let's begin with a "before" photo of the kitchen corner.
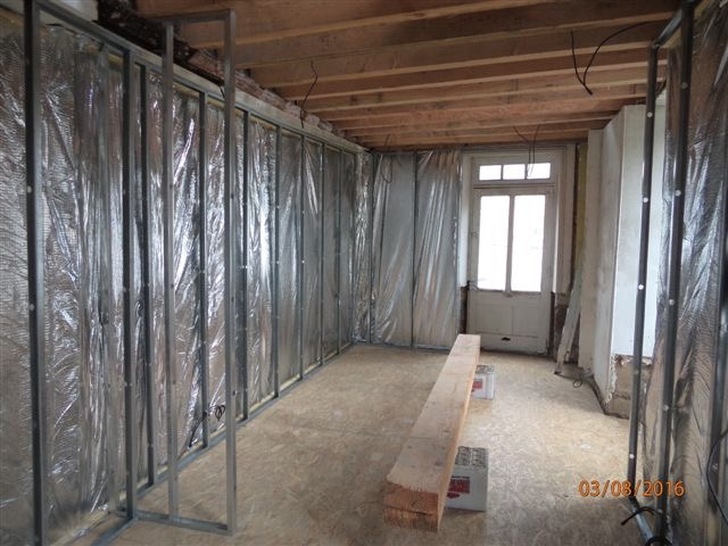
And now, with the insulation and metal rails in for the walls... All the beams above have been replaced with new solid wood.
Oh yes, the underfloor has been laid and leveled. This "contiboard" you see is a kind of plywood base the builders will walk about on while they do more renovation. Later we will add hardwood flooring once all the walls are up. You can see some of the electric lines overhead.
We are deciding on the composition of the wall/door between the kitchen and the living room area. Right now you can see some metal rails sticking out where the dividing wall will be. The question is whether we will leave a wide opening, or put in French doors, or put in "pocket doors" that could slide away into the small wall space on the sides. Our daughter's preference is for pocket French doors, and after all, it is meant to be her own little house. Will discuss the feasibility of these with Jim, our builder, on Thursday.
We are deciding on the composition of the wall/door between the kitchen and the living room area. Right now you can see some metal rails sticking out where the dividing wall will be. The question is whether we will leave a wide opening, or put in French doors, or put in "pocket doors" that could slide away into the small wall space on the sides. Our daughter's preference is for pocket French doors, and after all, it is meant to be her own little house. Will discuss the feasibility of these with Jim, our builder, on Thursday.
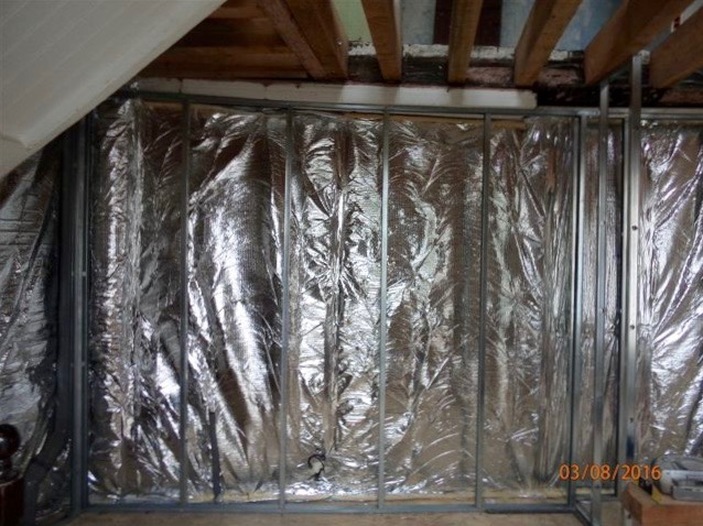
In the photo above we are looking straight from the front door area to what will be the back wall of the kitchen. We will have about nine feet of wall space to fit everything in, including a clothes washer. I suppose the refrigerator could always squeeze in closer to the stairs. Now let's look at the living room/lounge in 2015:
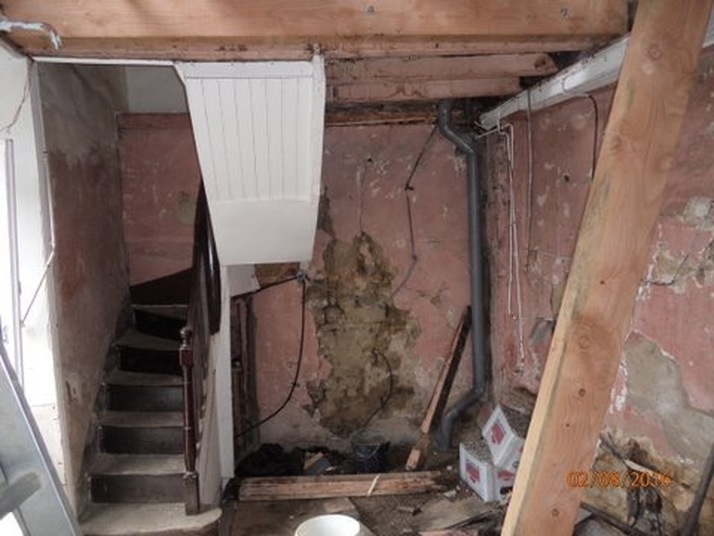
The old floor was decrepit and had to be pulled up and destroyed, leaving us with an exposed "vide sanitaire" (underfloor airspace) that was full of rubble. You can see the waste pipe that leads to the mains drains running along the bottom of the floor on the left in the photo below:
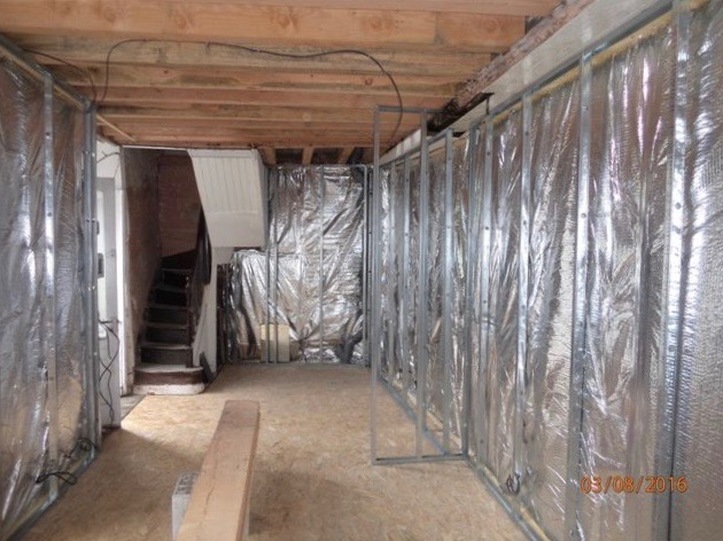
Now the floor has been relaid on concrete pontoons to retain the airspace, and should allow the building to "breathe" from underneath. Water vapor will evaporate up toward the roof. We are leaving an airspace behind the insulation to allow for this, and to avoid damp in the old stone walls. Our heated living areas will be boxed in once the drywall is affixed to the metal studs. Electric lines have already been laid and should be invisible behind the drywall.
With the new floor, insulation and railings up, the living room looks very different now:
With the new floor, insulation and railings up, the living room looks very different now:
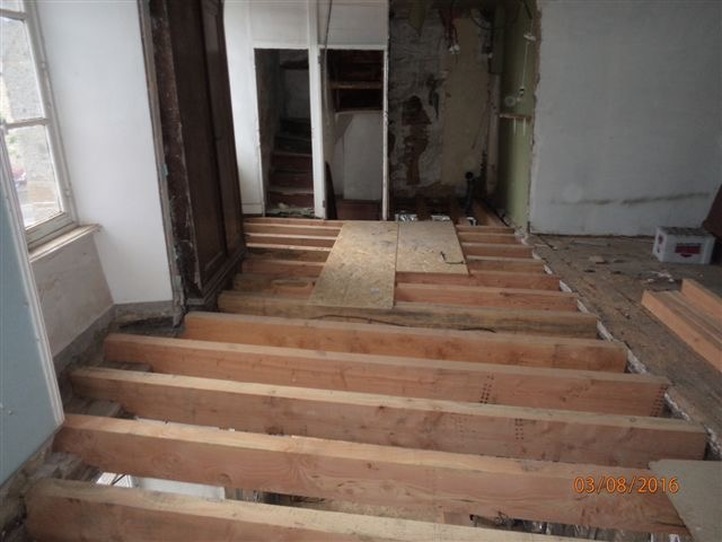
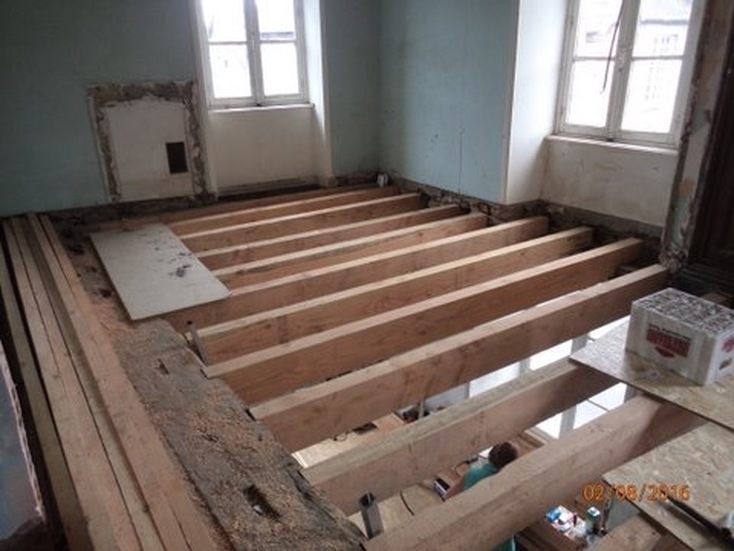
Upstairs, brand new beams have been fitted for the bedroom floor. They had to stop at the main supporting beam. Beyond that beam there is older flooring that we have had thoroughly treated (as with the beam) to be sure there are no wood-eating insects within, but we cannot pull that flooring up as it is the ceiling over our adjoining neighbor's living area! A new hardwood floor will be laid over both. The main beam is very old, but solid.
The view below is looking into the study and bedroom area from inside the bathroom on the middle level of the house. We are going to be sure that the flue from this upstairs fireplace is properly filled in, and will have it walled over. Downstairs we do want to have a wood stove installed, but we'll only have electric heat upstairs.
The view below is looking into the study and bedroom area from inside the bathroom on the middle level of the house. We are going to be sure that the flue from this upstairs fireplace is properly filled in, and will have it walled over. Downstairs we do want to have a wood stove installed, but we'll only have electric heat upstairs.

The photo below is a view from the bedroom on this second level (which is the French "first" floor) looking back toward the stairs and the now empty shell of a bathroom. Below that is a photo of the bathroom in its "heyday." Yes, I'm being sarcastic. It was pretty sad, I'm afraid. The floor was covered with plastic contact paper with a fake wood grain.
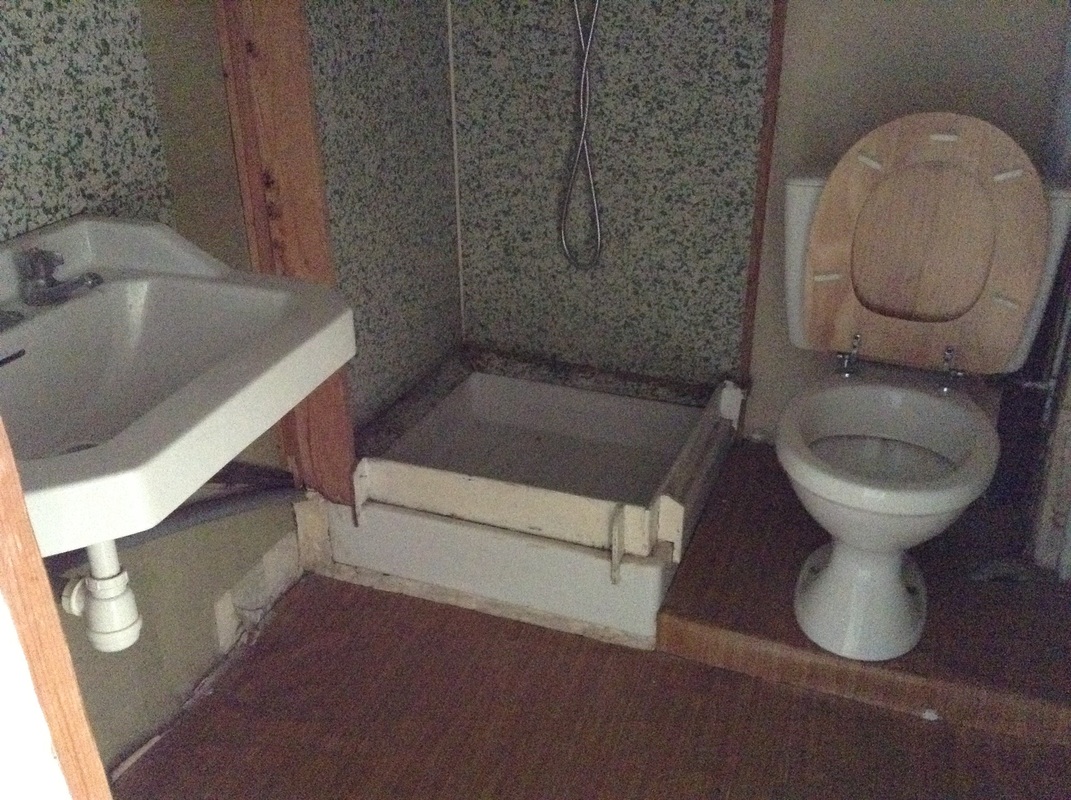
We were worried that some of this bathroom area might also be built over part of an adjoining property, but once the fixtures were removed and the floor was taken up, it appeared that the placement was entirely over our kitchen.
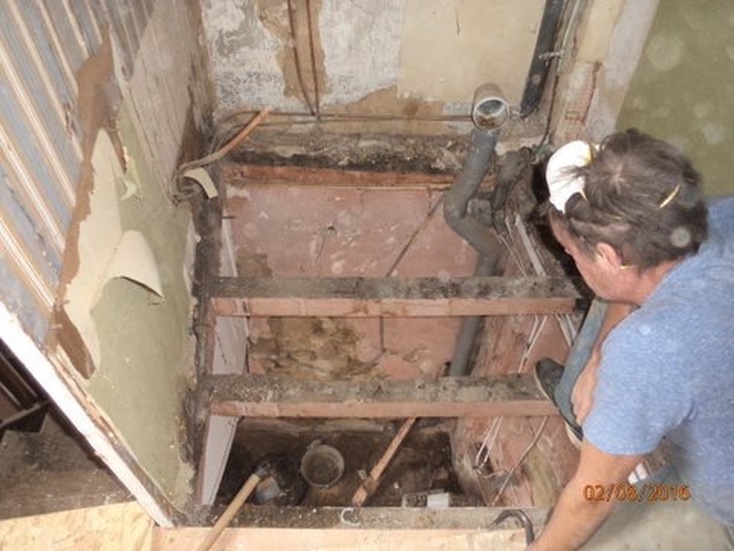
It is a very small space to work with for a bathroom, and a challenge for our builders, but they have already replaced the beams, and I'm sure they will have some good suggestions. I will be happy if we can fit a basic toilet, sink and shower in there. Photo below is taken looking up from the kitchen at the fresh beams and reinforcements. You can see the waste pipe in the corner.
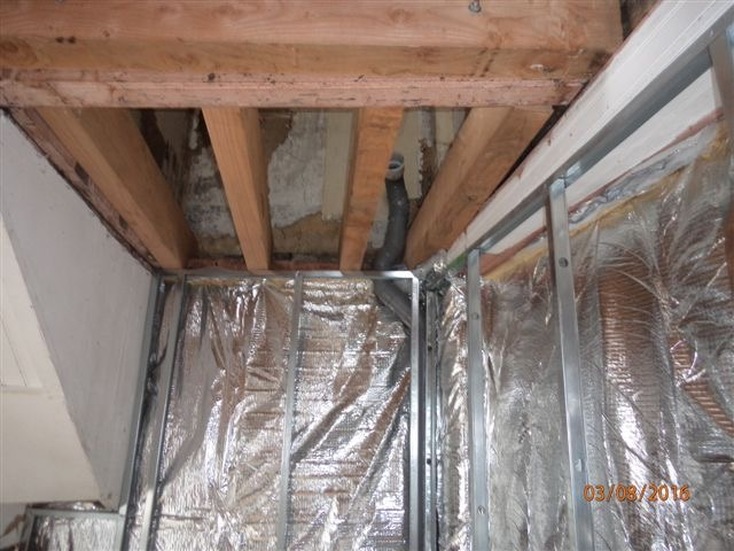
Here are two more views of the middle level and the fresh beams. You can see the windows of both floors. The house faces roughly southwest, so it gets good light most of the day.
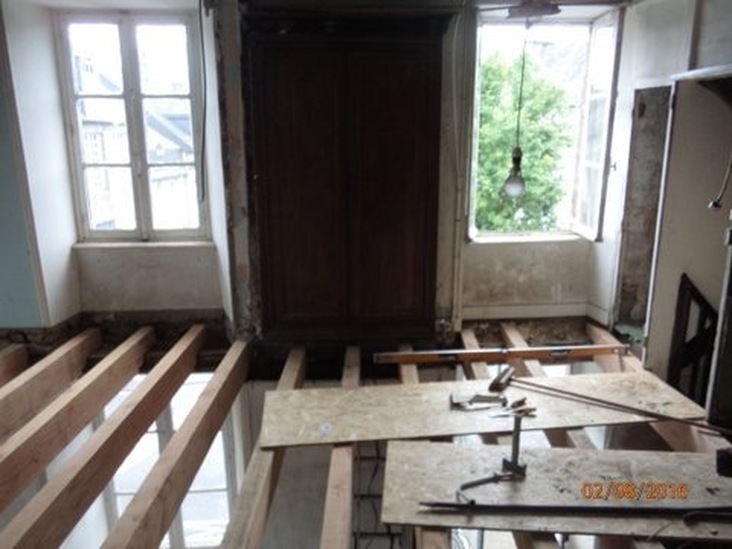
All of the windows and the front door are scheduled to be removed and restored by a fellow who specializes in such work. Meanwhile, we are very pleased to see such progress in the rebuilding of the interior. We hope the house is happy too.
 RSS Feed